Create new shapefile (from ArcMap)
- Windows pull-down > Catalog
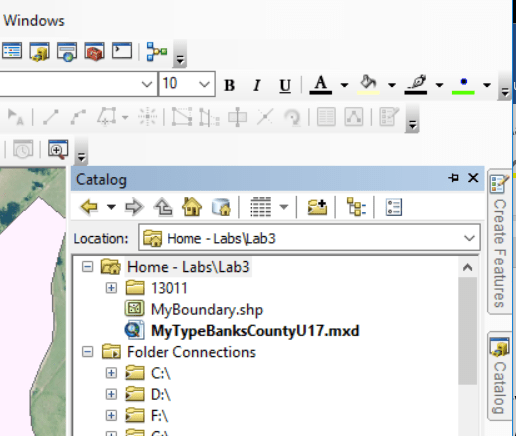
- In the Catalog
- navigate to your working directory
- right-click on your working directory > New > Shapefile
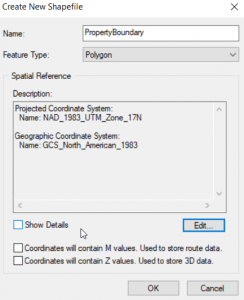
- Name it
- You are creating a polygon
- Set the Spatial Reference (coordinate system)
- Edit > Projected > UTM > NAD 1983 > NAD_1983_UTM_Zone_17N
- You now have an empty shapefile loaded in the table of contents
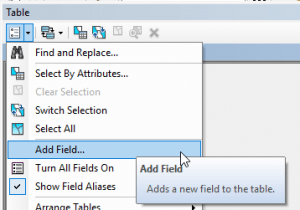
- Add needed fields to your Attribute Table
- Open the new layer’s attribute table (right-click on the layer in the TOC and select Open Attribute Table)
- Table Options (button in upper left) > Add Field
- Table Options (button in upper left) > Add Field
- Open the new layer’s attribute table (right-click on the layer in the TOC and select Open Attribute Table)
- You now have an empty shapefile in the TOC with new fields
Set your Data Frame Coordinate System
- View > Data Frame Properties > Coordinate System tab
- We are working in eastern GA, so select Projected > UTM > NAD83 > Zone 17N
Digitizing
- Start Editing your shapefile
- Right-click on the layer in the TOC > Edit Features > Start Editing
- Load the Editor toolbar
- Right-click in the grey area at the top of the ArcGIS screen > check the box next to Editor
- Open Create Features window
- Editor pull-down > Editing Windows > Create Features
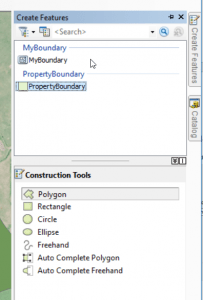
- Make sure you select the correct layer (PropertyBoundary in this case)
- Select your Construction Tool
- Editor pull-down > Editing Windows > Create Features
- Zoom into a starting area on the orthophoto
- Click once to begin your polygon
- Click along the OUTTER boundary of your property
- Double-click to close the boundary polygon
Save your digitized feature: Editor > Stop Editing