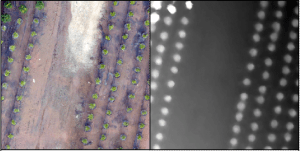
Recall the tree orchard site we’ve been looking at. This site is relatively flat with distinct (potted) objects.
In this lab, I will attempt to lead you through an R-based analysis with the goal of segmenting the landscape (individual potted plants). Before you begin in R, though, you need to generate the point cloud…
INPUT DATA:
Lab data is linked HERE. Use the download link at the top of the page and save the file as “Nov30_2017.zip”. Copy the compressed file to your working directory and then right-click>extract all to uncompress. You should have two folders; one called “InputPhotos” and another called “PhotoscanOutput”. You will be processing the files found in the PhotoscanInput folder in part 1.
clpSG_Ortho.img: Photoscan orthophotoclpSG_TerrainModel.img: Photoscan terrain modelclpSG_PointCloud.las: Photoscan point cloud
DOWNLOAD AND START UAV-Mapper
- Download UAV-Mapper from their Github page (https://github.com/cvBin/UAV-Mapper)
- Down-arrow on green CODE button > Download Zip
- Copy compressed file to your working directory
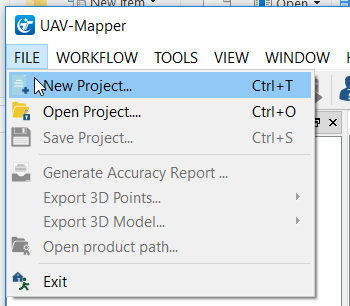
- Double-click on the …\UAV-Mapper\UAV-Mapper executable
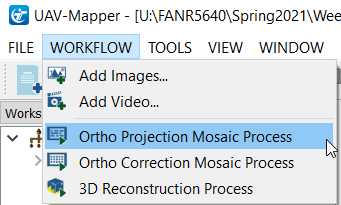
PROCESS UAV PHOTOS (generate orthophoto and export LAS)

- Accept the defaults

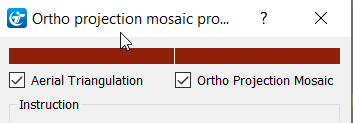
- Generate preliminary orthophoto and digital surface model
- Output will be saved in the “5_Products” folder in your UAV-Mapper project folder


- This is a CPU-intensive process – took about 5 minutes on my office machine. If you are building a drone image-processing machine, you want to budget for the fastest CPU you can afford. Other steps are RAM-intensive, so you want to budget for a minimum of 32GB or RAM; 64GB is better; 128GB will allow you to process large datasets. If you are using commercial software, you will realize benefits from using a modern GPU. Puget Systems has performed comprehensive Agisoft benchmarks (https://www.pugetsystems.com/search.php?query=metashape).
- Save your UAV-Mapper project
- View the “…_DSM_Fast.tif” and the “…_OrthoMosaic_Fast.tif” output in ArcPro
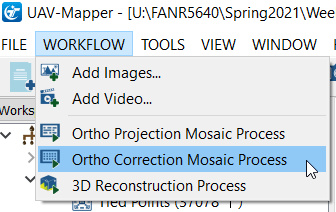
- Ortho-correction process
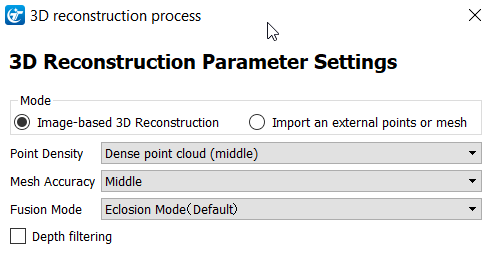
- Generate the dense point cloud. When using commercial software, this step will benefit from 1 or 2 GPUs

- Defaults are set to process on “HIGH”. Set the Point Density and Mesh Accuracy to “MIDDLE” to speed things up… This step took 15 minutes to process on my office machine.
- Export 3D point cloud as LAS
- Generate processing report
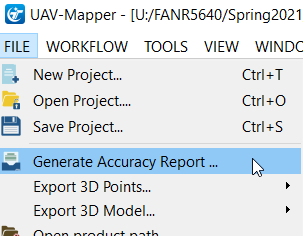
- Look in the “6_Reports” folder for your processing report
- Save your UAV-Mapper project